Have you ever thought about how many leaves, dead plants and animals, etc., fall to the forest floor each year? Probably not, but if you take a moment to do so, it’s pretty amazing that all that debris doesn’t pile up so high that it covers the treetops! This question really gets my kids thinking and it’s a great lead into talking about the importance of decomposers.
Decomposers like fungi, worms, slugs, and snails are vital to the forest biome. These organisms break down all that leaf litter and leave nutrient-rich soil behind. This an important concept to expose your students to when studying the forest habitat, but it’s even better if they can experience it first hand!
After researching urban gardening and worm farming, I set off to try worm composting in my classroom. A worm farm ended up being fairly inexpensive to set up, easy to maintain, and a great inquiry and observation experience for my kids. Plus, I ended up with some nutrient-rich soil for my home garden when we were finished observing! Here’s how to set up your own classroom worm composting farm.
This post contains Amazon affiliate links. This means I may earn a small commission at no additional cost to you should you choose to make a purchase through my link.

1. Gather Materials
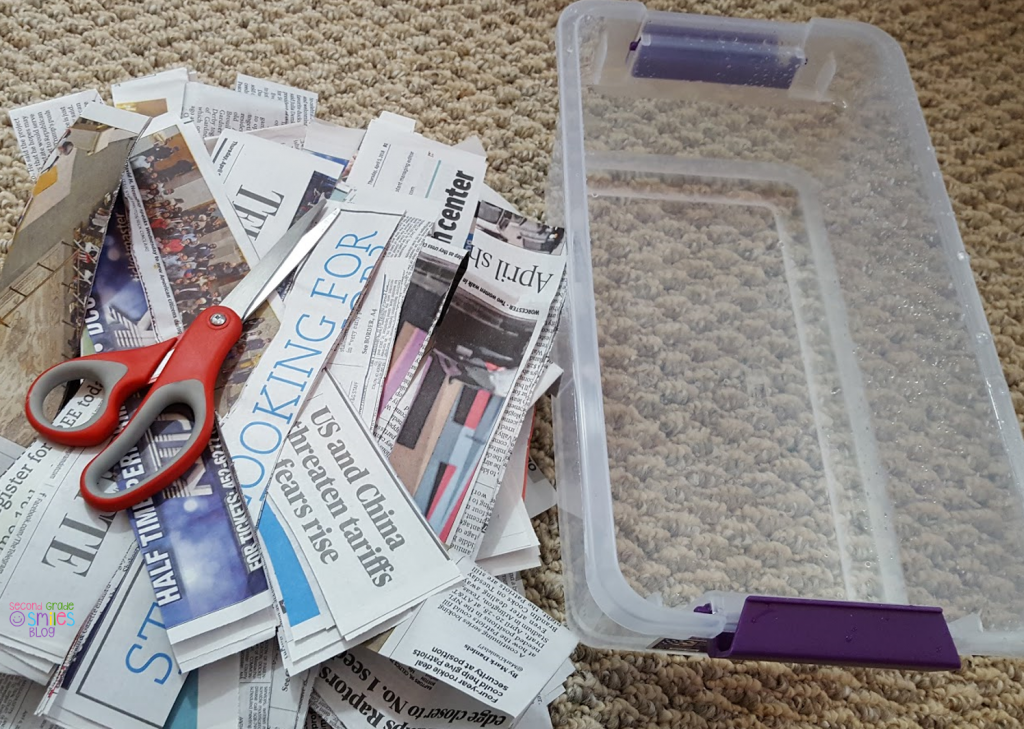
You’ll need a medium-sized clear plastic tote, a drill, a cup of soil, newspaper, a bowl of water, and compost worms. (I ordered mine from Amazon.)
2. Prep Your Tote
Rinse out your tote and drill some air holes so your worms will be able to breathe comfortably. Place the tote on bricks as shown to hold it up and allow airflow from the bottom.

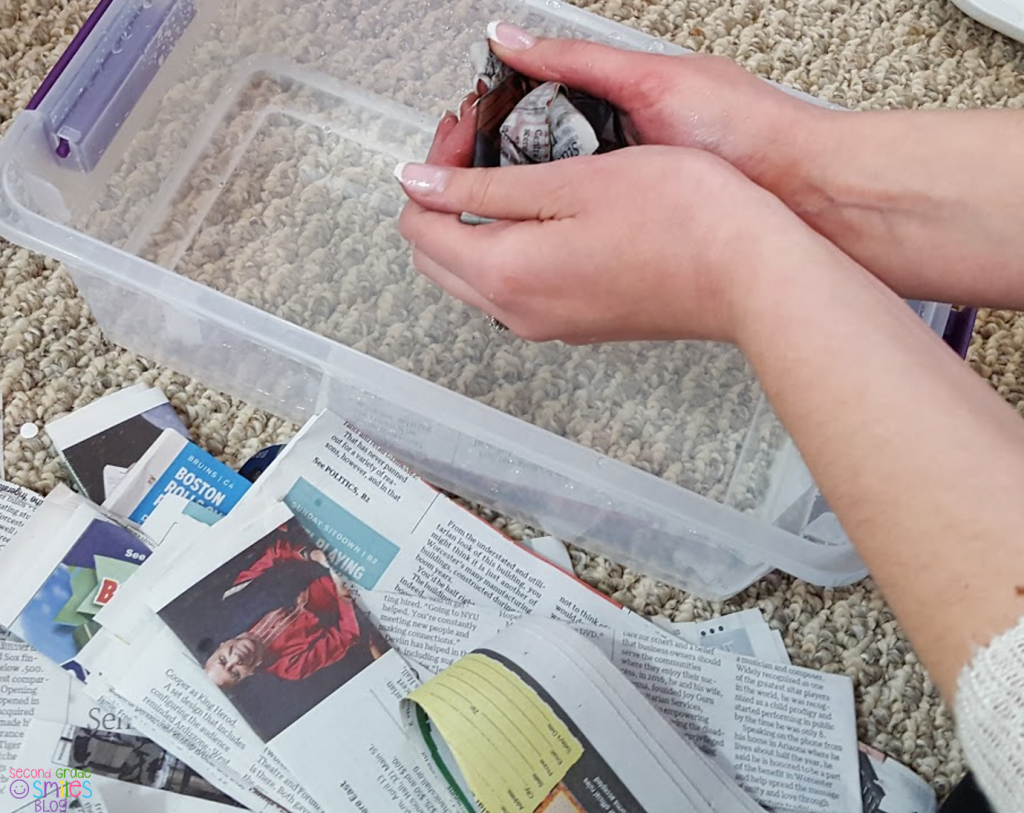
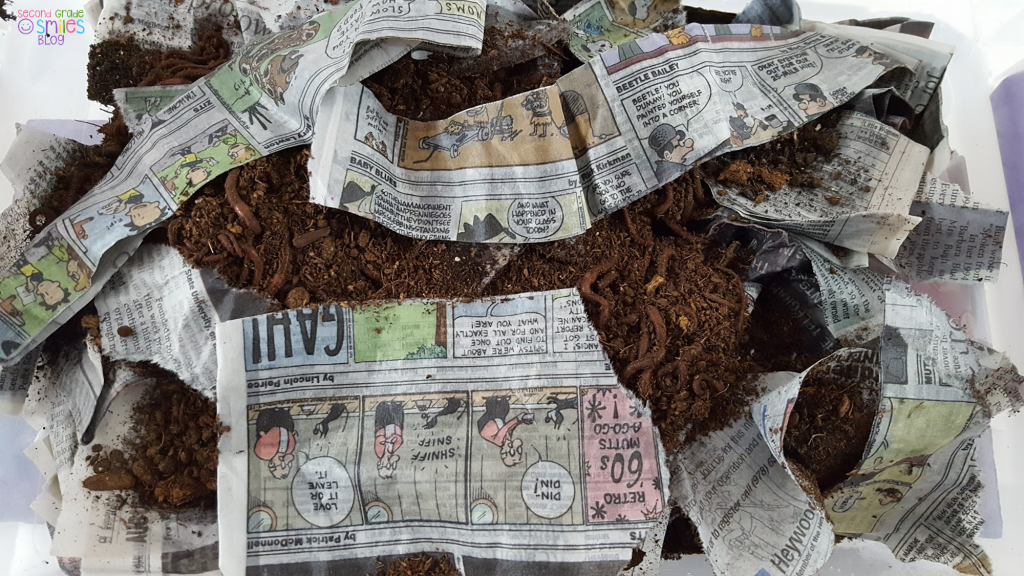
Cut the newspaper into strips. Wet each strip and wring out excess water. (You want the newspaper to be damp but not dripping wet.)
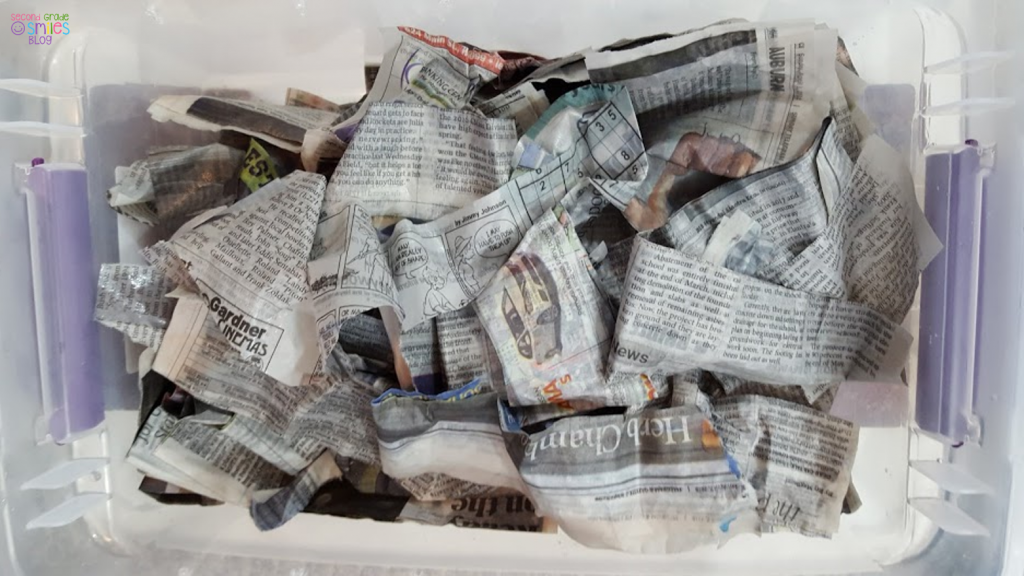
Fill the tote about ¾ of the way full with newspaper.
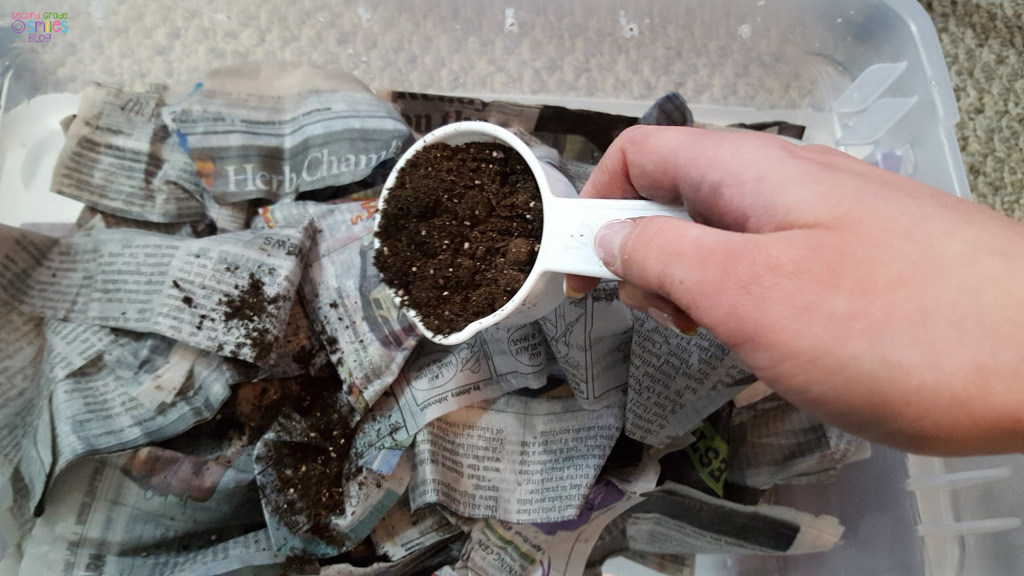
Sprinkle in a cup of soil.
3. Add Worms & Food Scraps
Add compost worms and compostable food scraps like eggshells, apple cores, banana peels, and watermelon rinds. Then watch your worms go to work!
4. Care for Compost Worms
Continue to add food scraps as your worms finish up what you’ve given them. Avoid adding white paper, which can be bleached and unhealthy for worms, and citrus fruits, which can be bad for the worms’ sensitive skin.
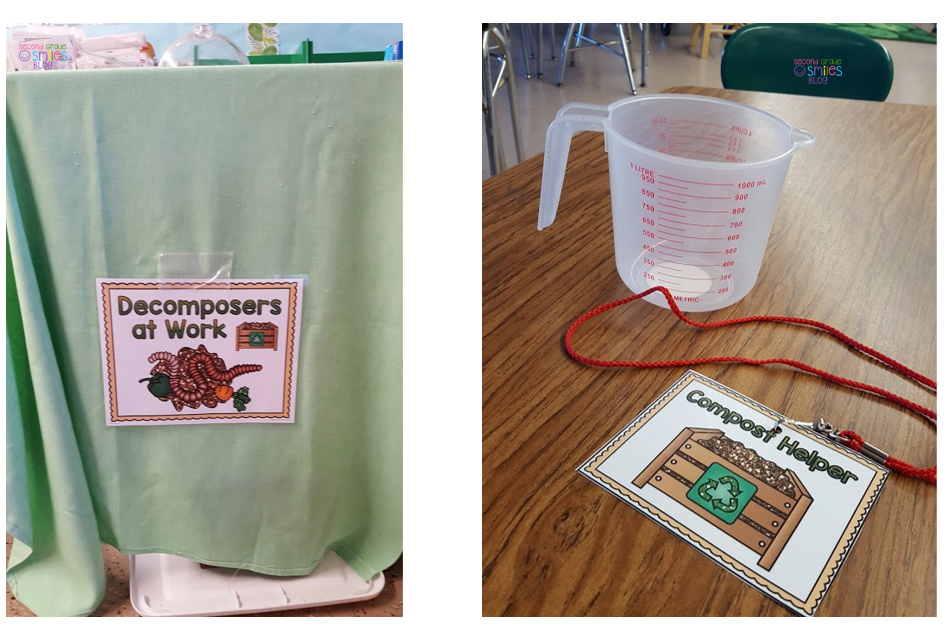
In my classroom, one student headed to lunch in the cafeteria with the “Compost Helper” badge on whenever the worms were running low on food. He or she had permission to collect scraps and bring them back to the classroom. We kept track of the waste added to the compost bin by measuring with a simple plastic measuring cup and recorded in a class journal. Worms were kept in a shaded spot in our classroom under our “Decomposers at Work” sign to keep them from overheating.
(The “Compost Helper” badge, “Decomposers at Work” sign, and worm farm journal are included in my Worm Composting in the Classroom resource!)
5. Extend Learning
To extend learning, give your students opportunities to read about worms and the compost cycle as well as to observe and record changes in the worm farm and compost. I used a worm farm journal for students to record their observations and research. You can also add hand lenses to your observation center for a closer look at your worms during the decomposition process. My students also enjoyed reading more about worms in Wiggling Worms at Work and Curious About Worms, which both had a permanent home at our science observation center while we were worm composting.
If you try out worm composting in your classroom, let me know how it goes in the comments below!
Happy teaching,

I love this idea! What do you do with the worms when you are finished with the unit/school year?
Thank you, Jolene! The worms go in my compost pile at home at the end of the school year. I’ve also read that they can do well in home gardens with the addition of composting trenches, but I haven’t tried that yet.