
If you’ve ever found yourself correcting center work on your couch at ten o’clock on a Friday night, this post is for you! I used to be that teacher. I would trudge home with my giant stack of center papers to correct each night. If fell behind on correcting it was nearly impossible to catch up. It made a job I absolutely loved unnecessarily stressful. Perhaps worst of all, the time I was putting into correcting wasn’t having a huge effect on student growth or adding joy to my classroom at all. Those carefully corrected papers with cute stickers and thoughtful comments most often got stuffed into folders and backpacks with hardly a glance. It was a waste of my time. I was feeling a bit burnt out. Something had to change!
Slowly, I transitioned to utilizing more self-checking centers in my classroom, freeing more of my time to plan, reflect, and offer meaningful feedback to my students. Using self-correcting centers made my students more aware of their own strengths, areas of struggle, and the effects of their work habits. Learning became the focus rather than earning a correct mark. In fact, I saw even more student growth when I didn’t pull out my correcting pen every night! I never looked back!
Ready to give it a try? Here are six simple ways to make your classroom centers self-checking.
1. Share the Answer Key
Answers keys don’t have to be for the teacher’s eyes only! If you set and model clear routines and expectations, you can absolutely allow students to access an answer key and correct their own work. I most often do this with “write the room” style task card centers. If you aren’t familiar with this type of activity, I typically tape cards around my classroom before school to prep. When visiting the center, students place recording sheets on clipboards, walk to each card, and complete the task. When students have an answer on every line of their recording sheets, they can return to the center table, flip over the provided answer key, and highlight any mistakes. (Because what second grader doesn’t love using a highlighter?!) The students’ next step is to go back to the card numbers they highlighted, take a second look, and correct their errors.
2. Pair and Play
Pairing students to play standards-based educational games in centers is so valuable. The desire to win can provide strong motivation for remaining focused and on task. Games also create a safe environment for failure, allowing students to more readily learn from their mistakes. As you model and teach students how to play fairly and be a respectful game partner, you’ll be teaching skills that will help them to work successfully with others far beyond your classroom walls. They’ll be having so much fun they’ll forget they are working and you won’t have to pack anything extra into your teacher bag at the end of the day!

3. Flip-and-Check
Clip card centers help build fine motor skills and are so easy to make self-checking! Use a small sticker on the back of the card to indicate the correct answer or simply mark the spot with a small dot using a marker. Teach students to clip and then flip to check their work. You can even have students create a pile of cards they have gotten correct and cards they have gotten incorrect if you’d like. They can return to the cards they had errors on the first time around and try again if time allows. You can pick up a free set to try here.
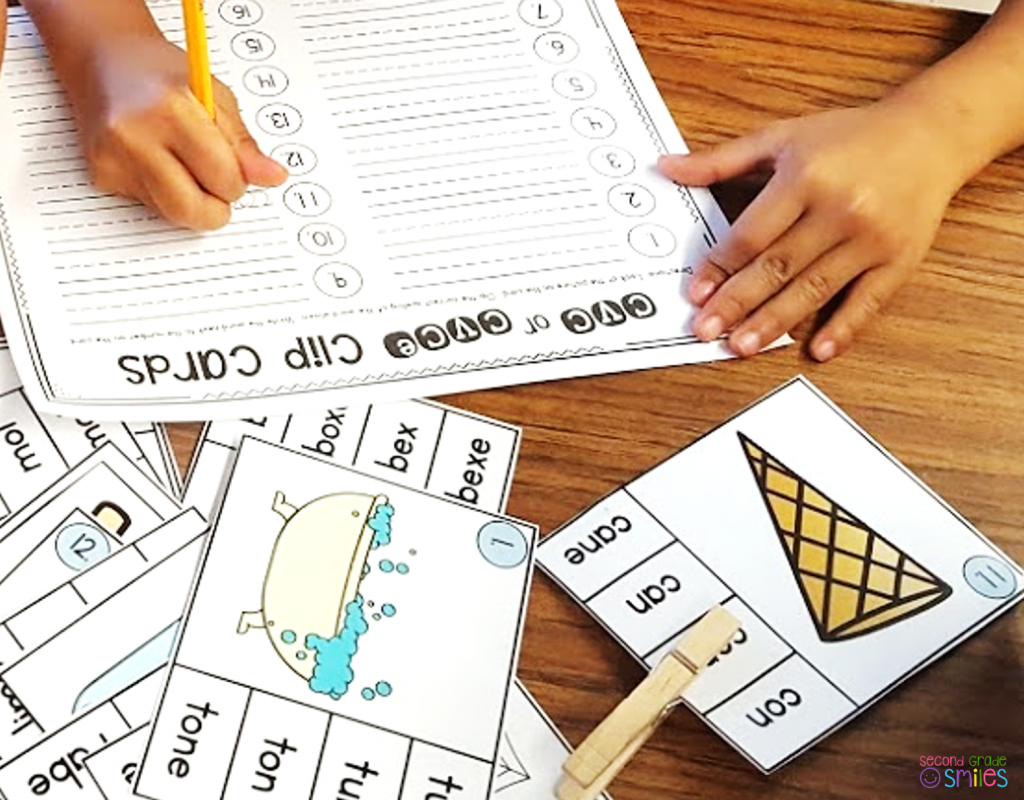
Many other hands-on center activities also similarly lend themselves to flipping to check. You can often simply write the correct answer in permanent marker on the back of a task card. The phonics-based word-building cards pictured below are a great example.
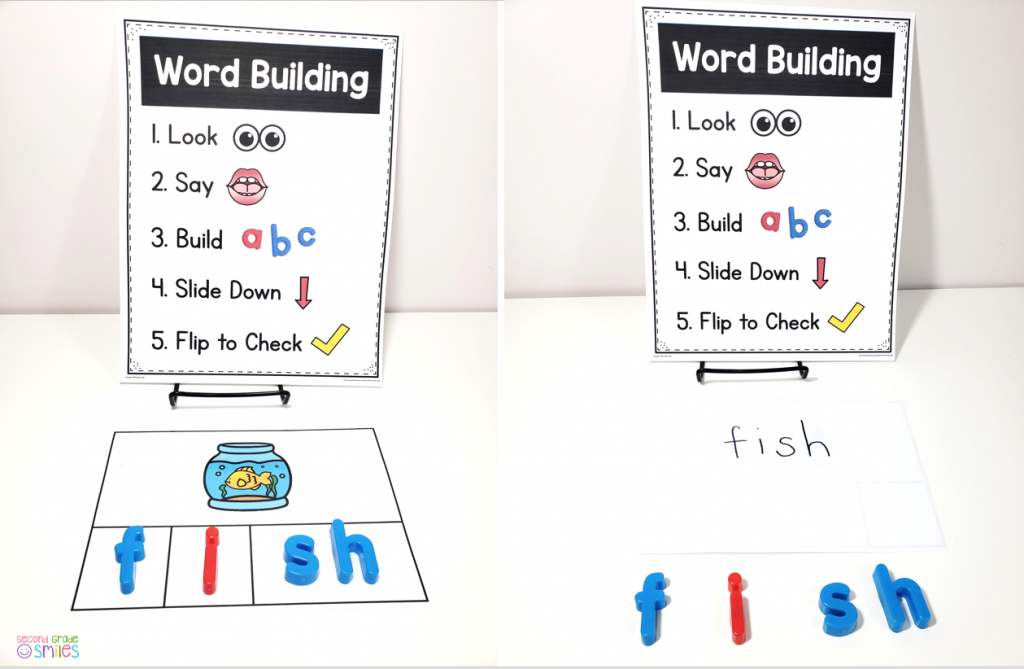
If you use something similar in your centers, teach your students the following procedure: look, say, build, slide letters down, flip to check. As an added bonus, if they don’t recognize the picture on the card right away, they can always hold it up to a classmate and ask them to read the word they’ll need to build. That results in fewer interruptions at your teacher center. It’s a win-win! You can grab a free poster with visual directions for the flip-and-check procedure here. (Find out more about using visual directions in this post.)
4. Provide a Word List or Word Cards
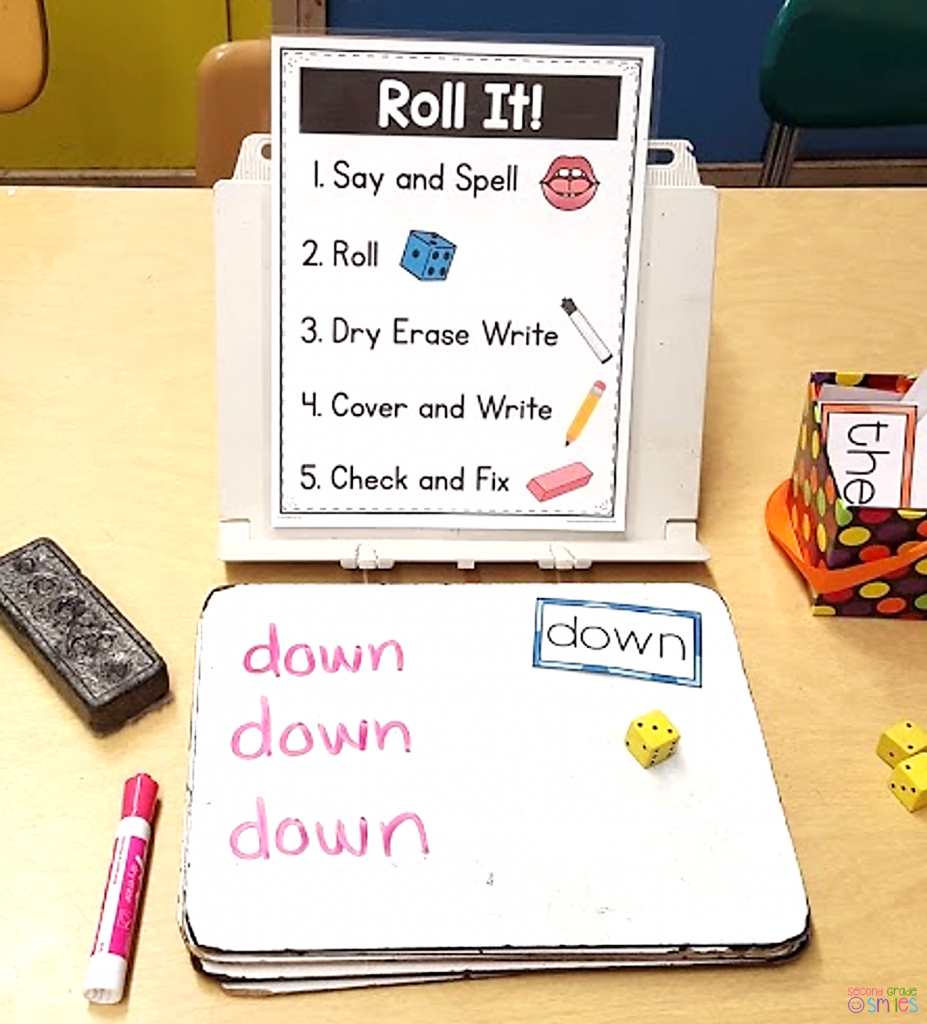
One of the most effective ways for students to develop automaticity as spellers is through multisensory practice opportunities. Providing students with differentiated word lists for reference and time to practice those words using multisensory materials and strategies is an excellent use of literacy center time. Students reference the list or word cards to check their own spelling as they go. No teacher correcting necessary!
5. Solve Puzzles
Puzzles provide opportunities for hands-on learning and allow students to see connections between and among concepts in a new, visual way. Many store-bought educational puzzles are already self-checking in that they only fit together in one way. If your puzzles are teacher-made and fit together in multiple ways, you can easily make them self-checking using permanent markers. Before cutting apart the pieces of your puzzle, place a colored dot on the back of each piece belonging to the set. Use a different colored marker for each set. After students complete the puzzles, they can flip over the pieces and look for the matching colored dots to check their work.

6. Go Digital with Boom Cards
Boom Cards are interactive, self-checking digital task cards that my students ask to play again and again. You can find Boom Card decks for most curriculum standards on their website. Create a teacher account and sync your Google Classroom and students can log in and play with a single click. As a teacher, you have the option of live monitoring their play and can access detailed reports on student progress. Kids love the satisfying “ding” they hear with every correct answer and earning digital coins as they play. One of my favorite things from a teacher’s perspective is that they are getting immediate feedback on every response and the opportunity to correct their errors on the spot. You can read more about why I love using Boom Cards with my classes in this post or try this free CVC Word Building deck with your class.

What Self-Checking Centers Are Not
Self-checking centers are a great way to empower students to be responsible for their own learning and save teacher time and sanity, but they are not a substitute for thoughtful formative and summative assessment. You’ll still need to use exit slips, quick checks, and observational notes, as well as more formal assessments, to continually assess student progress and adjust your teaching accordingly. The key is learning to be comfortable with allowing the goal of some center-based practice to be learning over assessment. This may be a challenging shift to make if you are used to checking every piece of your students’ work. Remember that you can start small – one center at a time!
Thanks so much for reading along! Have you tried any of these self-checking centers in your classroom? Do you have other tips for making centers self-checking? If so, I’d love to hear your thoughts in the comments! If you’d like to learn more about how I run learning centers in my classroom, this post is full of tips for stress-free learning centers.
Happy teaching,

Leave a Reply